To set up an email channel for Microsoft, the first step is to create an OAuth app by following the official guide. This app will allow secure authentication between your system and Microsoft services. Once the OAuth app is created, the next step is to generate a Credential.
In this case, I used a different account to create the Credential, because the account used to create the OAuth app does not have an associated email.
Once everything is set on Microsoft side, we will create Oauth app on PBXware side:

After that, we will create credentials for the Microsoft app using the Microsoft login button, and the credentials must be shown as Active once created.
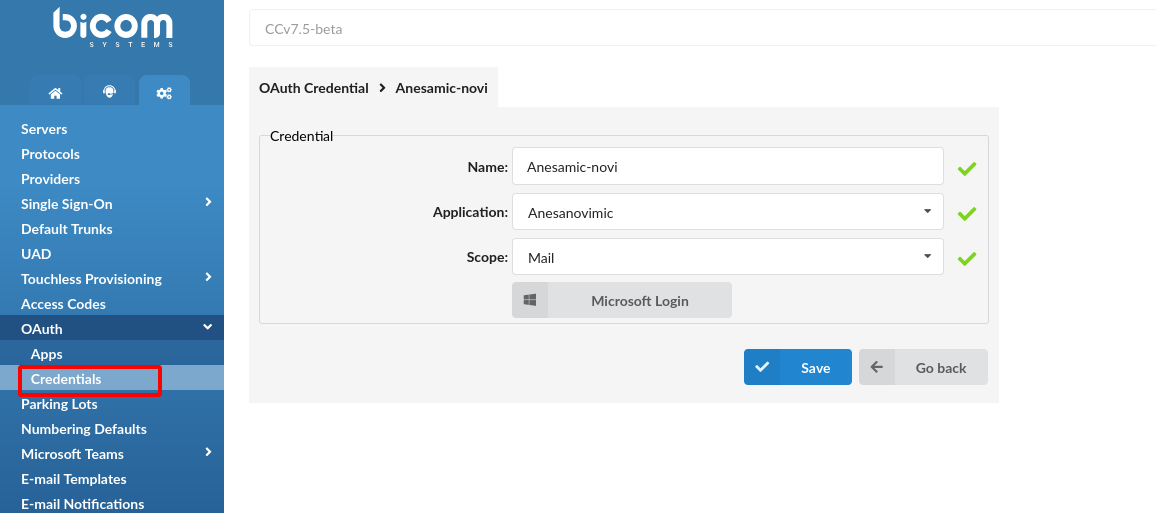

Once the Credential is successfully created, we will use the same Credential to configure the email channel.
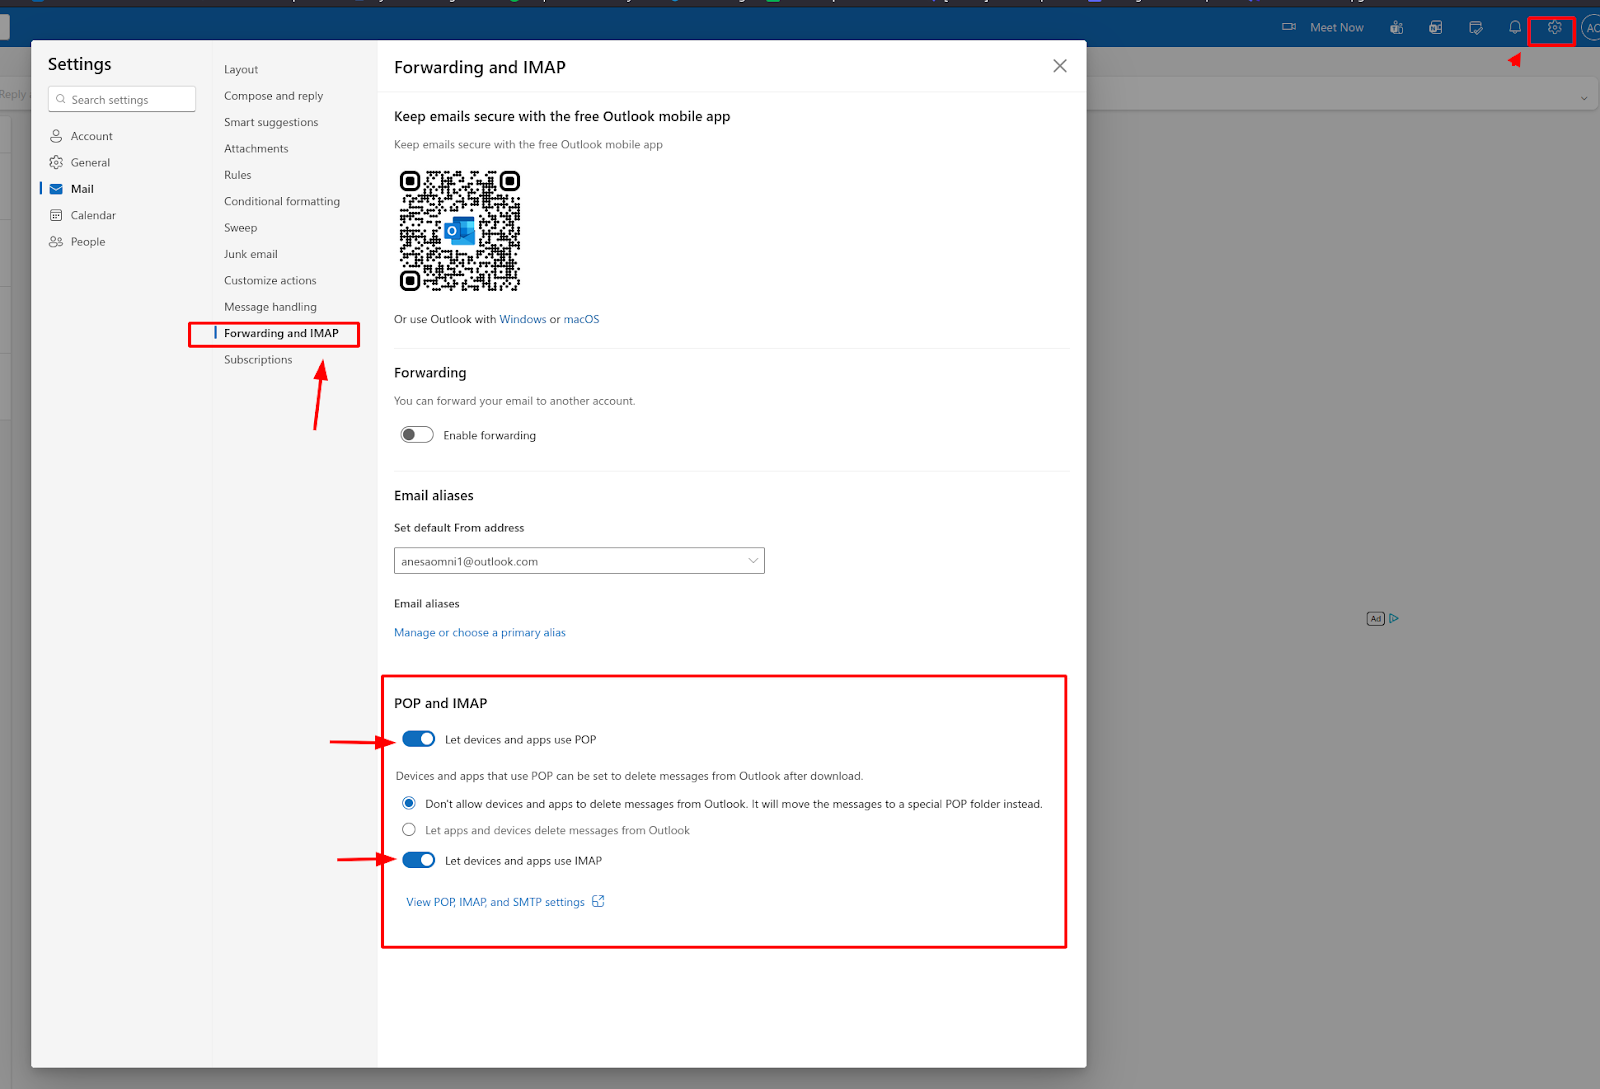
On the Microsoft side, it is required to log into Outlook and enable IMAP under email settings. IMAP must be enabled; otherwise, the IMAP test will fail and the email channel will not work correctly.
On the PBXware side, create a channel by using the credential added in the Oauth.

Everything should be populated automatically. Run IMAP and SMTP connection test in order to confirm that they are successful.
Once the email channel is successfully created, we can send a test email to the channel we just created. Since manual assignment is enabled in this case, the new email will appear in the agent’s panel under Unassigned emails. The agent will then be able to assign the email to themselves.

Sending reply:
